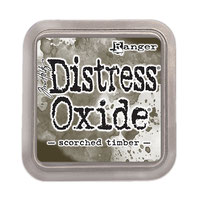
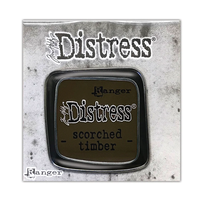
It's finally here! Say hello to SCORCHED TIMBER, a smoldering, deep-dark brown with charred undertones resulting in distress perfection! In this post I would like to show you the results of playing with this amazing color for the first time.

When I saw SCORCHED TIMBER for the first time, I immediately thought about wildflowers. That's a bit weird since wildflowers are not brown, and hopefully, they are also not scorched. But my grungy little heart wanted to know if it's possible to create something with wildflowers in an unusual color palette.
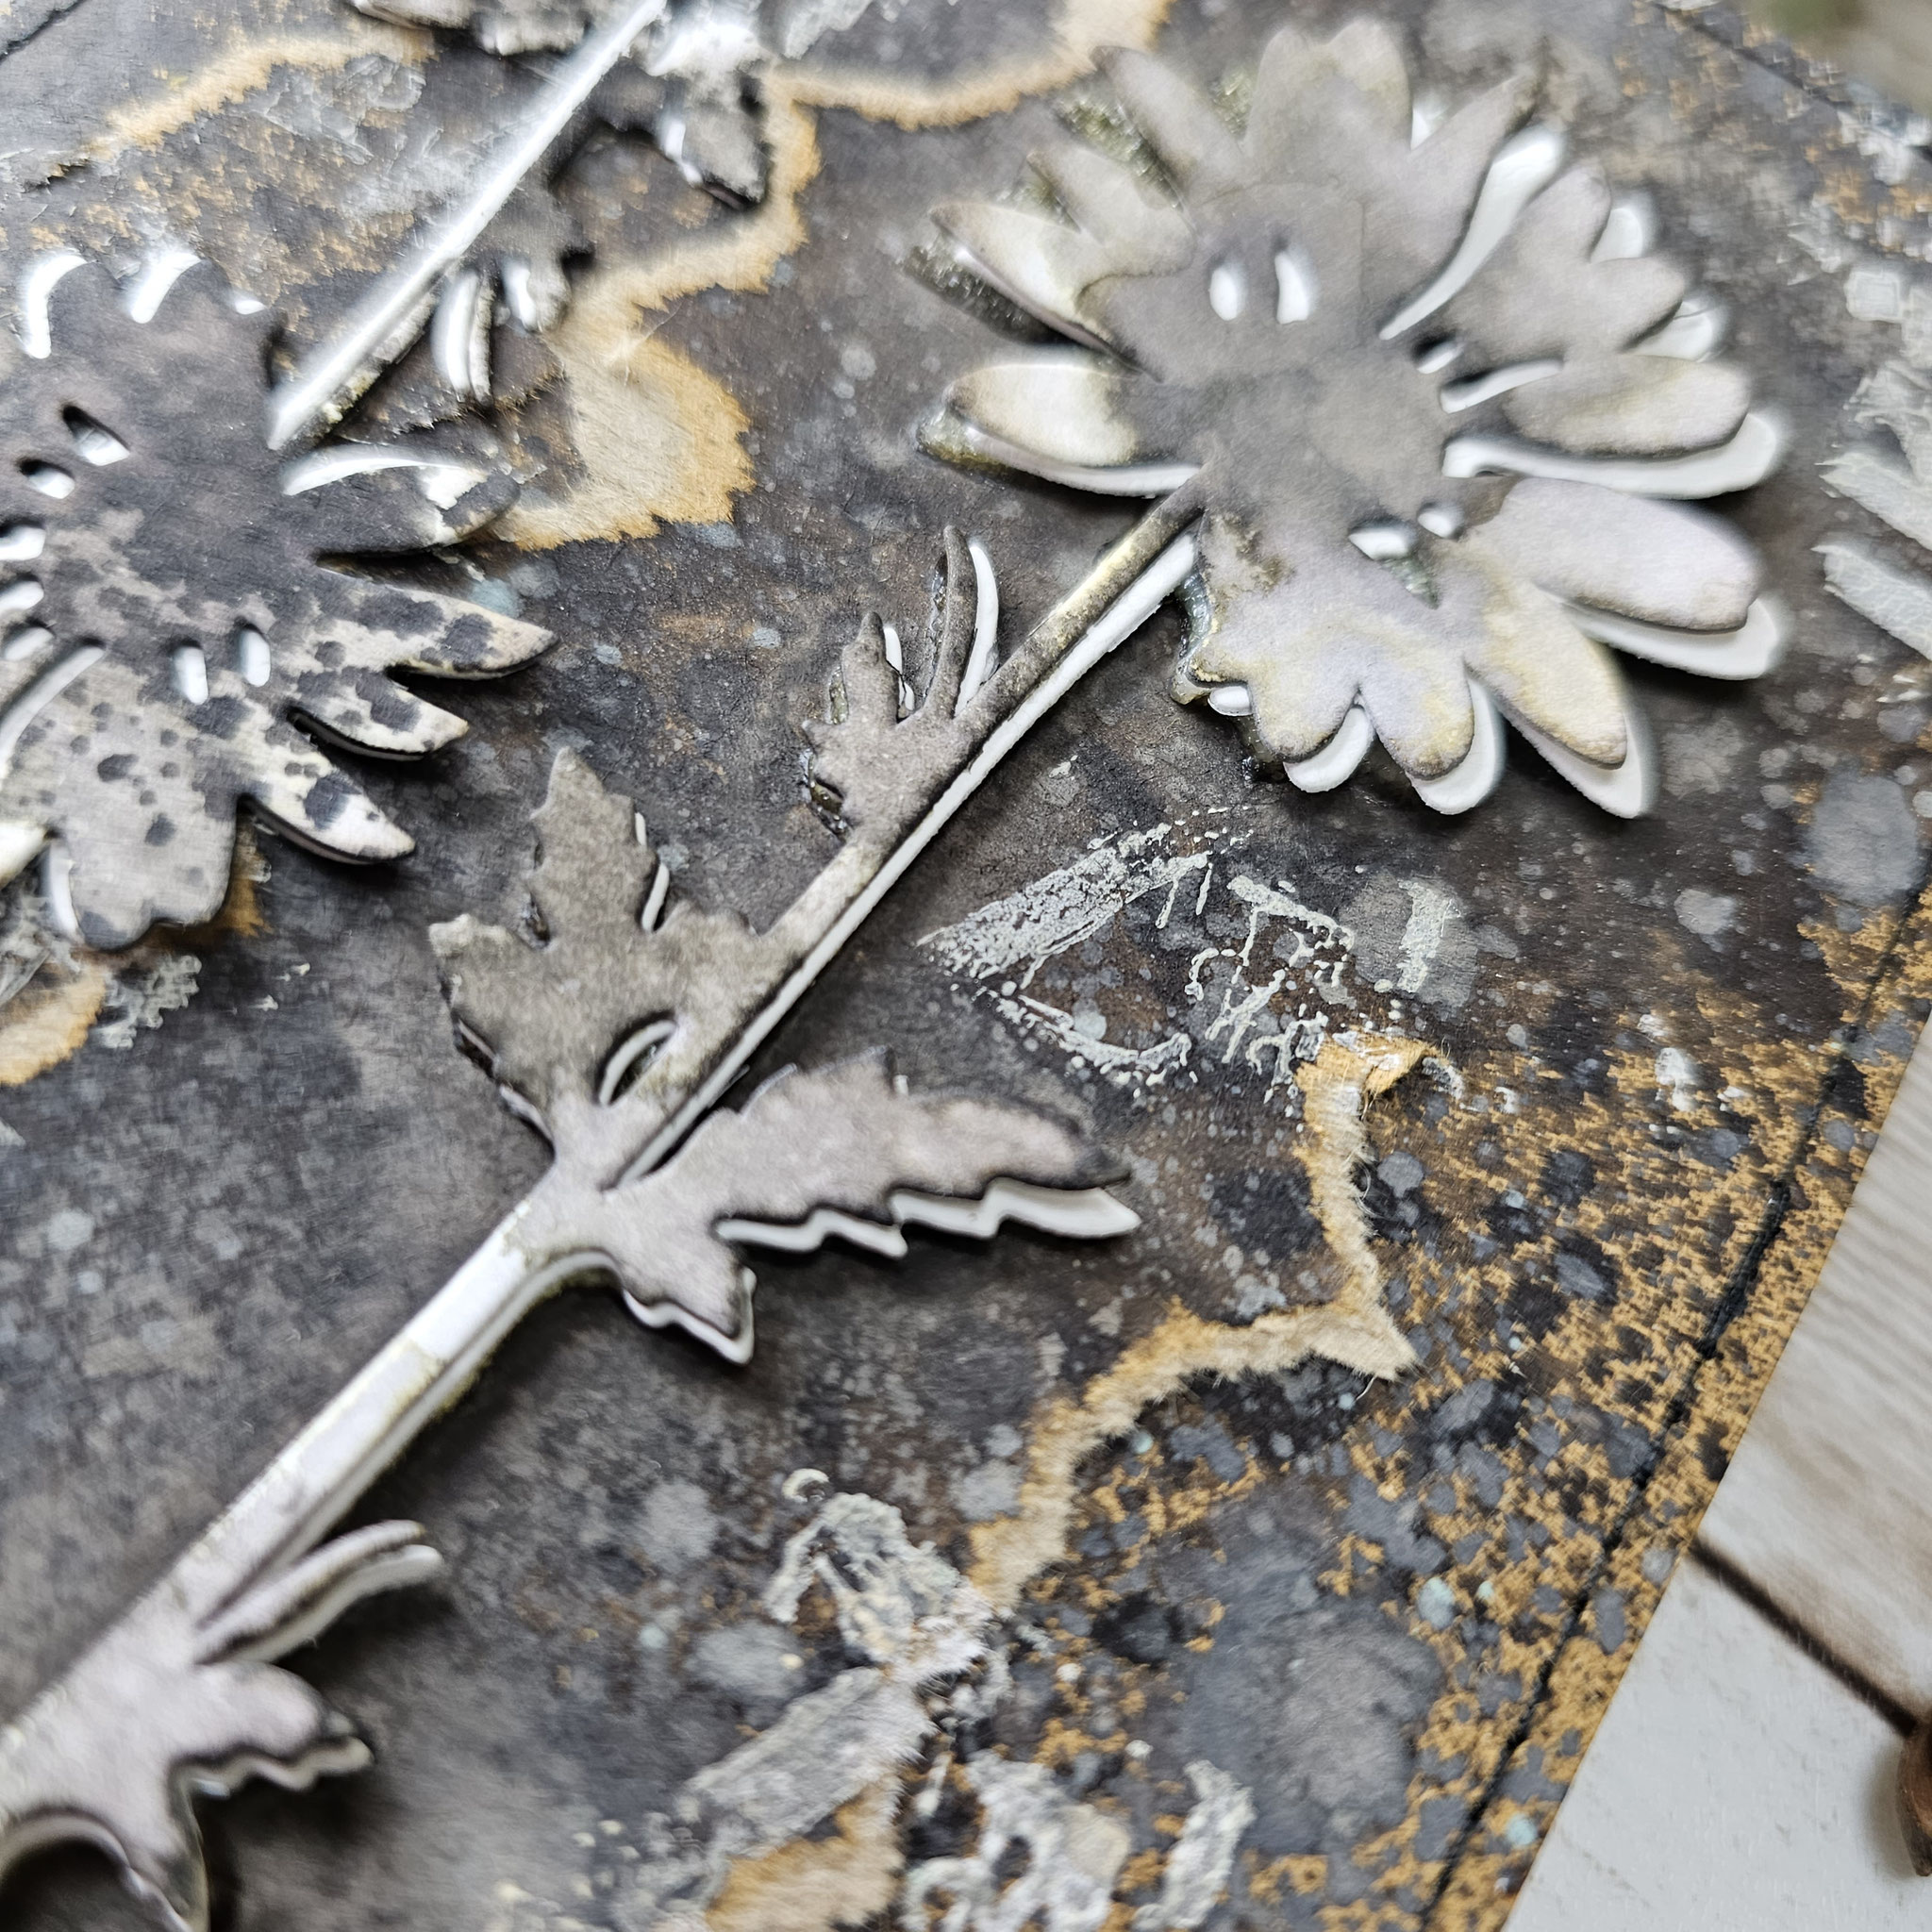
So, the first thing I did was, I cut out some wildflowers with the VAULT WILDFLOWERS and WILDFLOWER STEMS #1 by Sizzix and Tim Holtz, and I added some distress ink to the center of the flowers with a tiny blending tool, then inked the edges with distress oxide ink and spritzed some water and dried it. Then I added two layers of distress spray stain, one with water, one without water. Look at them! What do you think? In my eyes, this is grunge perfection! And it's just so easy!

I made a little video of my process, you can watch it here:

I wanted to use my "scorched" wildflowers to create several different cards and tags to see how they turn out in different contexts.
For this first card, I used a card base from a dollar store to test how the mediums perform on inexpensive paper. And I have to say... I am totally in love with that background! I only sprayed some of the spray stain, dried it, and then sprayed some of the oxide spray, drying it again. While drying both layers, I spritzed some water to create interesting effects.
Next, I took some white acrylic paint and a stamp from FADED TYPE CMS397 by Stampers Anonymous & Tim Holtz to add more details to the background. By stamping the wet acrylic paint on the dried spray layers, the ink gets reactivated, and the acrylic paint gets stained—such an amazing effect!
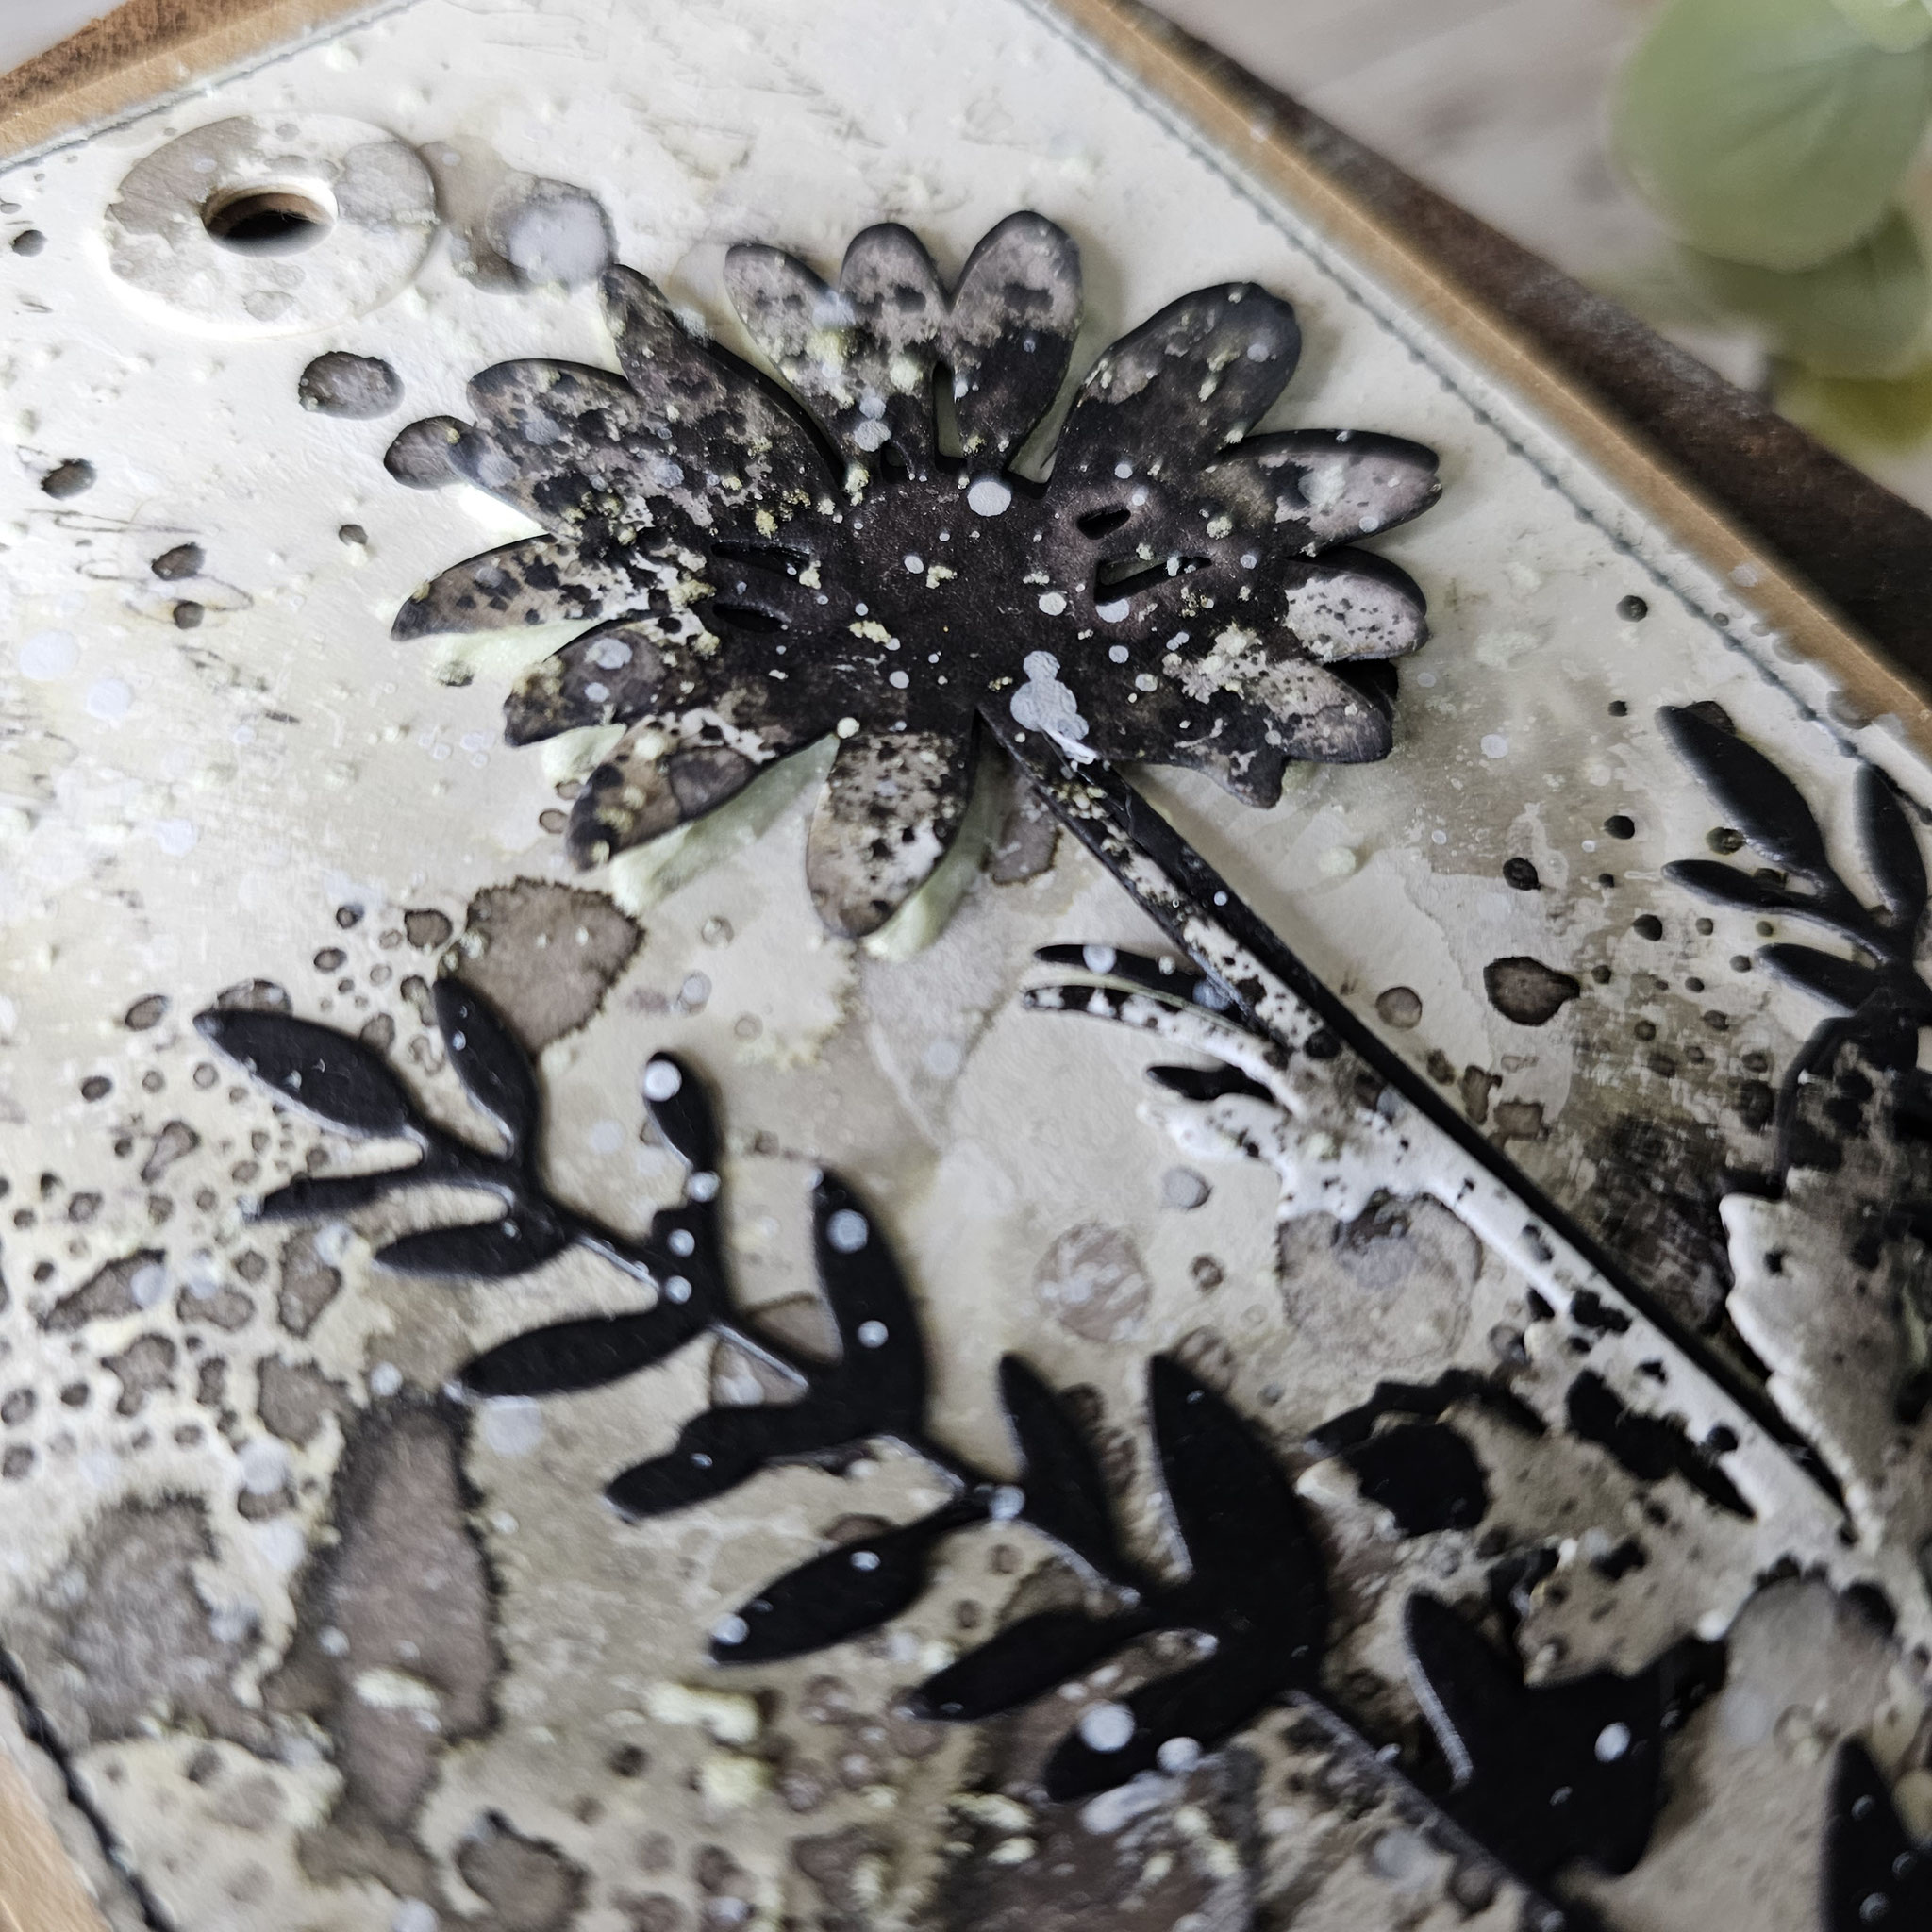
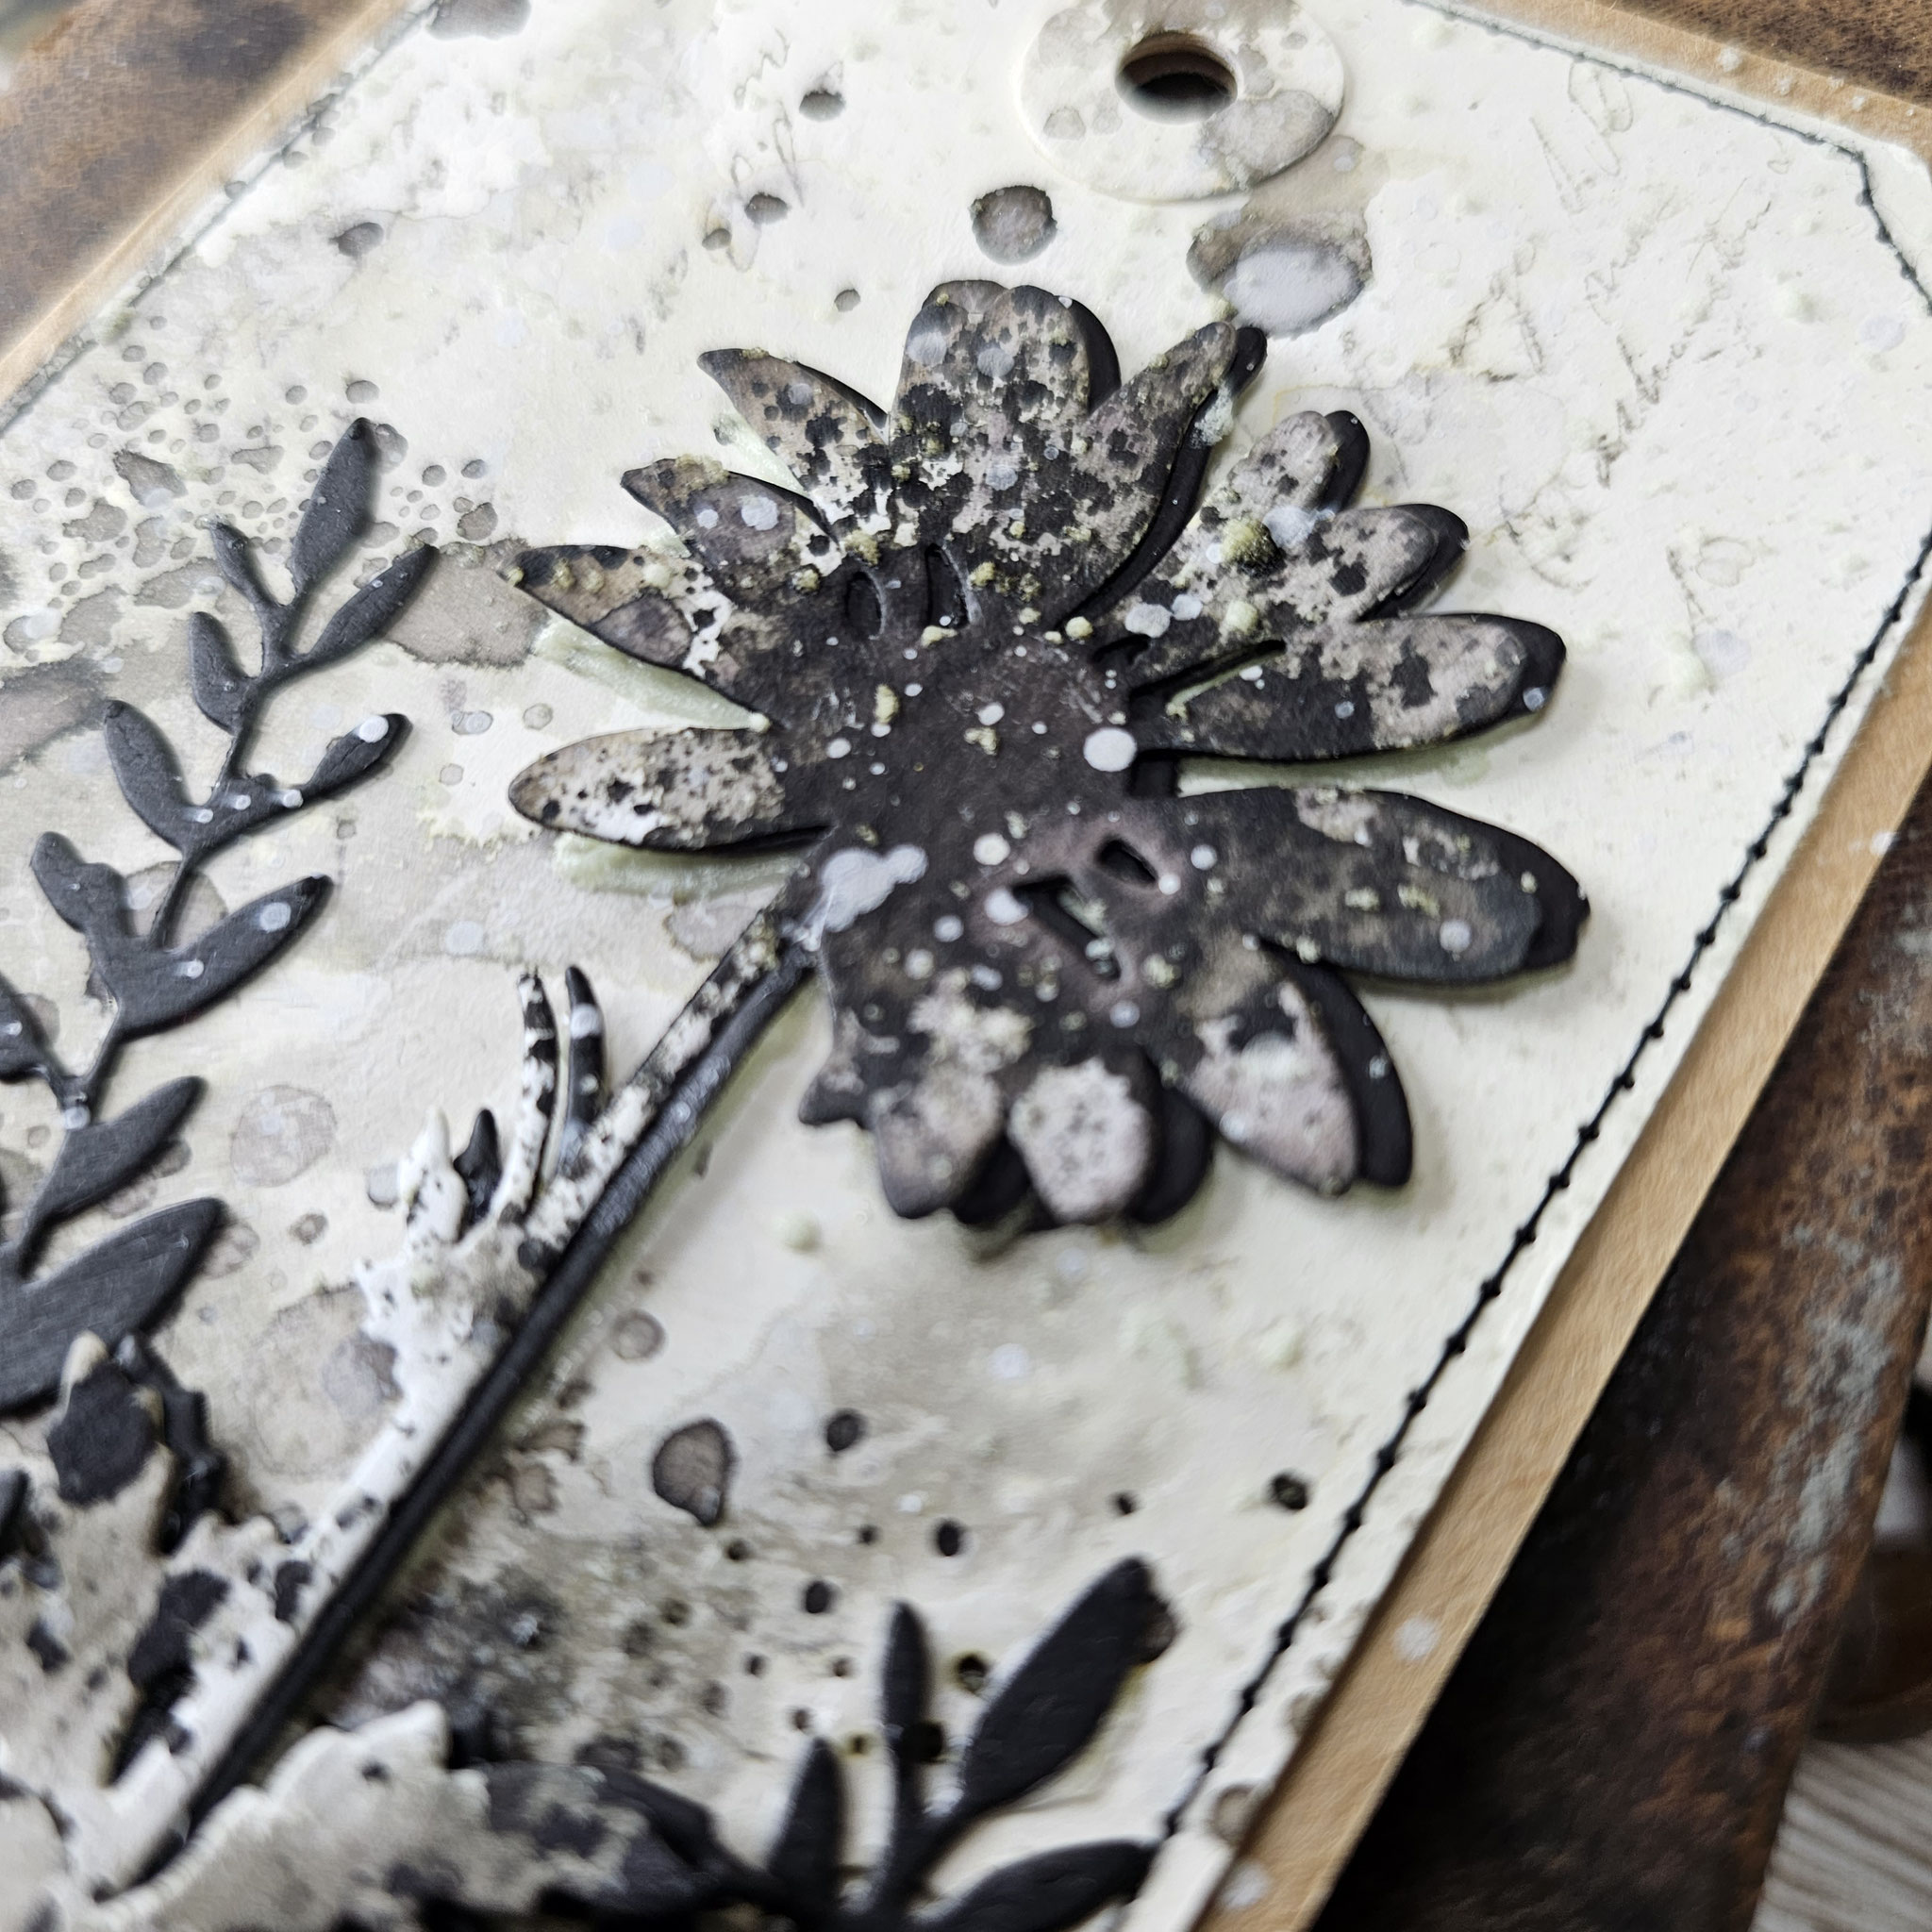
Then, I used the piece of paper where I had cut out the flower as a stencil. I applied some grit paste snowfall through it to create the bottom layer for the larger flower on my card. Additionally, I glued a white flower layer to both wildflowers to give them a nice shadow and make them stand out on my card. When the grit paste was dry, I glued the flowers to my background.
I also tore the background in several spots to create a scorched and rugged look.
For the quote, I stamped "LOVE YOU" with NOTEWORTHY CMS446 on a coffee-dyed paper scrap. I added some sewing around the edges with my sewing machine. Done!


When I saw how the layer with the distress grit paste snowfall came out, I thought, that's a great way to create dimensional focal points without the need of foam tape.
I'm pretty sure you've been in this situation before. You want to create a card and use a die cut as your focal point. But you don't just want to glue it down because you're looking for some dimension on your card. Your first thought is probably to use some foam tape. But what do you do if you have some really delicate and thin areas where it's impossible to attach foam tape?
With the help of some texture paste - that doesn't have to be a grit paste of course - it's absolutely easy to make! Look, how dimensional the wildflower looks on this card!

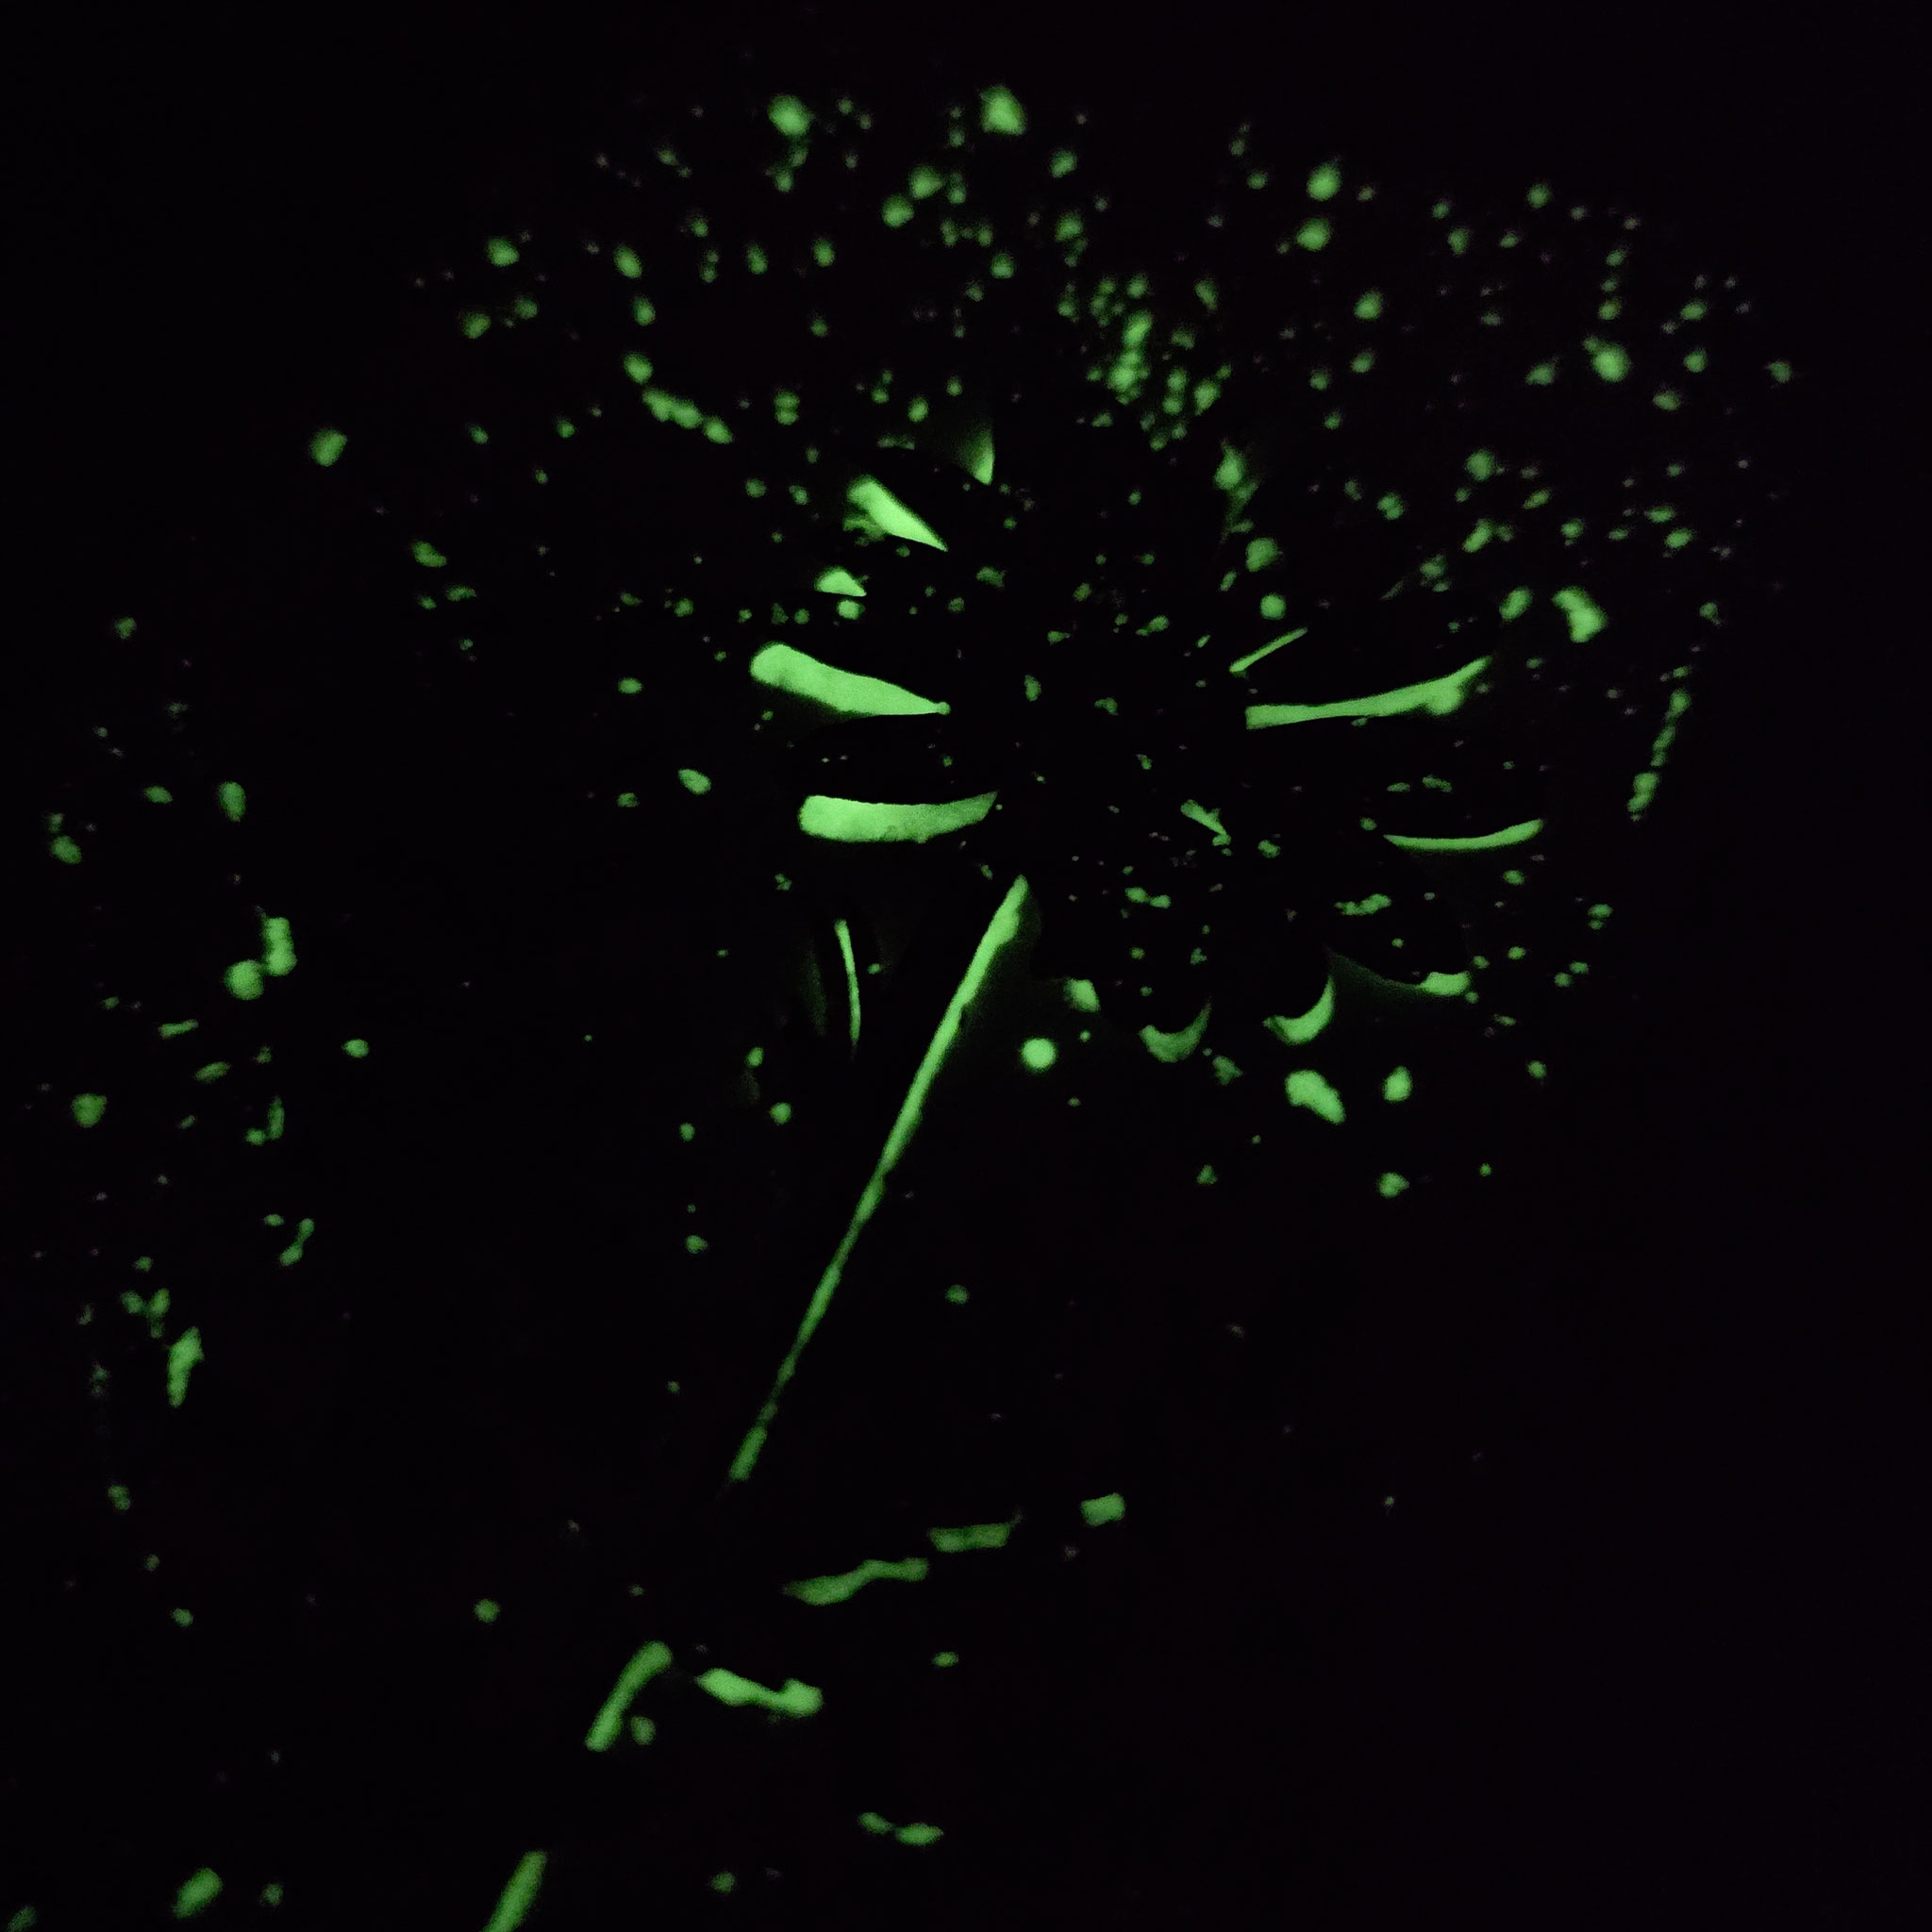
And because I know you're curious, I also made a video tutorial on YouTube for you. In that video, I also attempted to use distress grit paste glow for that kind of "fake foam tape" layer. Unfortunately, it didn't work in the video, and I assume it was because of my very inexpensive paper. However, I didn't give up on that idea! Just scroll down, and you'll see that flower glowing!
For another attempt at the idea of using distress grit paste glow for the "fake foam tape" layer, I used a distress tag #8 by Ranger. It's made out of mixed media heavystock, meaning it can handle all kinds of wet mediums, obviously better than the inexpensive card base I used for the first try of this idea.
So, here it is, my glowing scorched wildflower tag!